Connecting with Cursor
Complete guide for integrating ProdE with Cursor through Model Context Protocol (MCP).
Supports deeplink and streamable-http protocols for MCP integration.
Prerequisites
Before setting up Cursor integration:
- ProdE Account: Active account with repositories in knowledge layer
- Cursor Installation: Latest version of Cursor editor
Setup Process
Step 1 : Navigate to MCP Settings:
- Go to your ProdE account and find the MCP configuration section

Step 2 : Configuration Options
Choose between deep link installation or manual configuration:
Option A: Deep Link Installation (Recommended For Automated Setup)
No need to manually create files or deal with configuration steps
-
Click Connect with Cursor: Simply click on the deeplink button provided on the ProdE platform

-
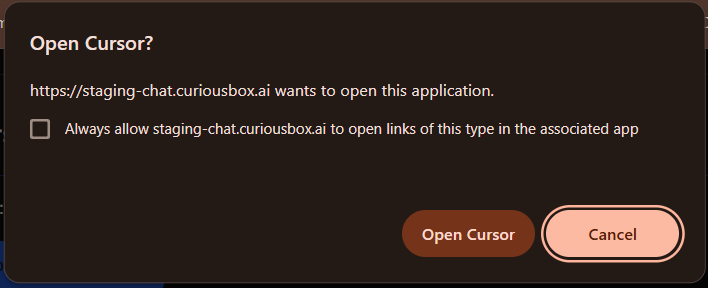
Dialogue Box Opens: A dialogue box will automatically open in Cursor for installation
- Install ProdE : In the cursor settings , in tools and integrations section under MCP tools install ProdE
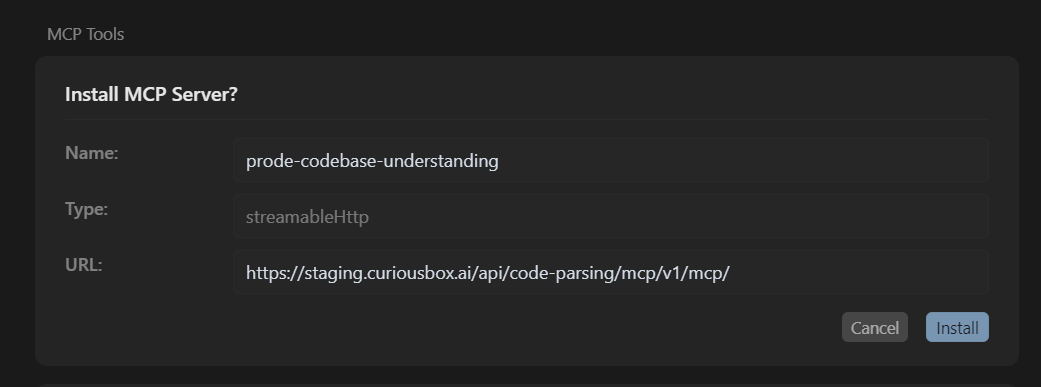
After Installation you can use the ProdE tools in your cursor environment.

Option B: Manual Configuration
File Location: ~/.cursor/mcp.json
Codebase Understanding MCP
{
  "mcpServers": {
    "prode-codebase-understanding": {
      "type": "streamable-http",
      "url": "https://api.prode.ai/code-parsing/v1/mcp/",
      "note": "The mcp server provides codebase understanding by prode.",
      "headers": {
        "Authorization": "Bearer <YOUR_TOKEN>"
      }
    }
  }
}
Projects MCP
{
  "mcpServers": {
    "prode-projects": {
      "type": "streamable-http",
      "url": "https://api.prode.ai/core/api/v1/mcp/projects/mcp/",
      "note": "The mcp server provides project management capabilities by prode.",
      "headers": {
        "Authorization": "Bearer <YOUR_TOKEN>"
      }
    }
  }
}
- Copy Configuration: The platform provides a complete configuration with your token automatically included
- Navigate to Cursor Directory: Open
~/.cursor/directory - Create Configuration File: Create
mcp.jsonfile in the directory - Insert Configuration: Copy and paste the complete JSON configuration from ProdE platform
- Save Configuration: Ensure the configuration file is saved properly
- Run: Click Run to connect the MCP server
The configuration copied from ProdE platform automatically includes your authentication token. If you need to update an existing token (e.g., if your current token stops working), you can copy the new token from the MCP Settings screen and replace it in your existing configuration.
Available Tools
Once connected, Cursor will have access to tools from both MCP servers:
- Codebase Understanding tools — repository exploration, code search, documentation lookup, and symbol tracing
- Projects tools — requirements, workstreams, documents, artefacts, bugs, and blockers
Next: VS Code Setup | Windsurf Setup | Claude Code Setup | Back to MCP Overview